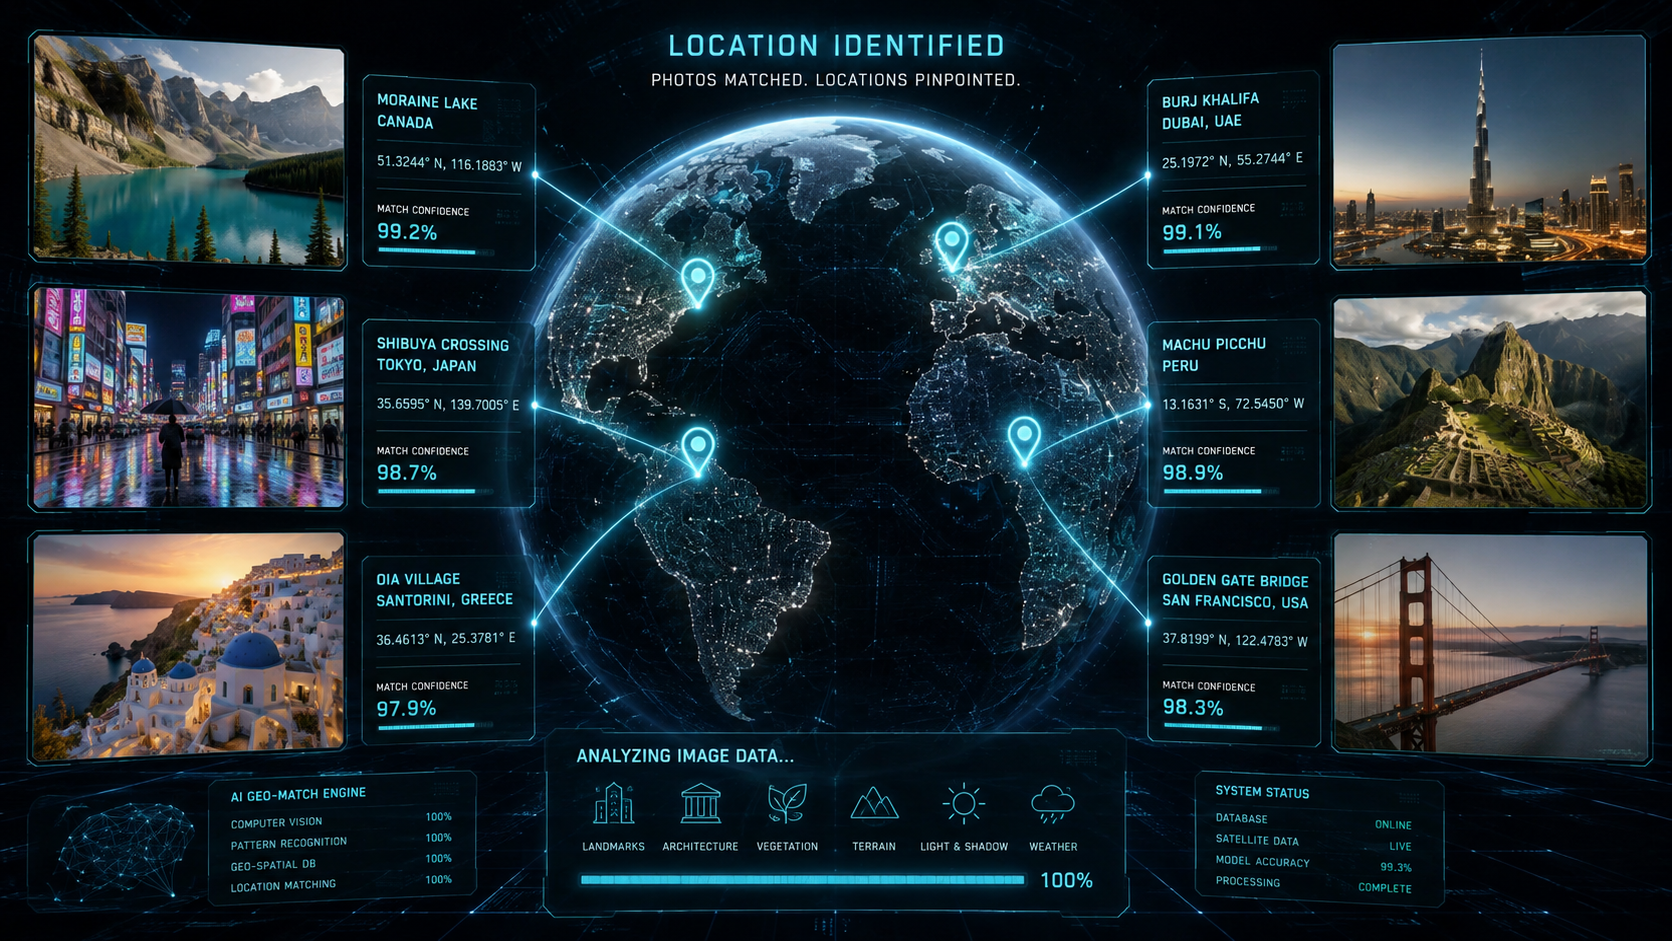
You have a photo, no useful caption, and one deceptively simple question: where was this taken?
Sometimes the answer is hiding in the file's GPS metadata. Sometimes Google has already indexed the same image with a helpful caption. And sometimes all you have is a blurry curb, three suspiciously distinctive utility poles, and a mountain that looks like every mountain until it suddenly does not.
That is why there is no single best photo location finder for every case. The most reliable workflow combines three kinds of tools:
- AI photo geolocation to generate possible locations from the visible scene.
- Metadata and reverse image search to uncover direct evidence.
- Maps and street-level imagery to verify that the geometry actually matches.
Below are the tools we would reach for first in 2026, starting with the broadest all-in-one option.
The best photo geolocation tools at a glance
| Tool | Best for | What it gives you | Main limitation |
|---|---|---|---|
| GeoSeer | AI-assisted geolocation from an image or video | Ranked locations, coordinates, confidence, an address, and reasoning | A prediction still needs independent verification |
| Google Lens | Finding an indexed copy, landmark, sign, or business | Matching pages, similar images, OCR, and object results | It may return no geographic answer for a unique scene |
| Yandex Images | A second reverse-image index and visually similar scenes | Exact copies and similar images | Similar-looking does not mean same place |
| Bing Visual Search | Finding pages that use an image and related visual results | Source pages, related images, and object information | Not designed to estimate coordinates from any scene |
| TinEye | Tracking exact or edited copies of a photo | Matches that may include cropped, resized, or edited versions | Usually does not identify a new photo's scene |
| ExifTool | Reading GPS and capture metadata from original files | Embedded GPS, time, device, and other tags | Social platforms often strip metadata |
| Google Maps and Google Earth | Confirming a candidate with streets, terrain, and older imagery | Street View, satellite imagery, 3D terrain, and historical imagery | You need a candidate area before manual comparison is practical |
| Mapillary | Checking crowdsourced street-level imagery | Ground-level photos, capture dates, and map features | Coverage is uneven because it is contributor-driven |
GeoSeer: best all-in-one AI photo location finder
GeoSeer is built specifically to find the location of an image or video. Instead of waiting for one model to make one inspired guess, its agentic workflow can examine EXIF data, run reverse image search, read visual clues, inspect maps and satellite imagery, search the web, and rank candidate locations.
That matters most when the photo is not an obvious landmark. A famous tower is easy. A residential street with regional road paint, subtropical plants, a partially readable shop sign, and an unusual roofline is where a multi-step workflow earns its lunch.
GeoSeer returns possible locations with latitude and longitude, a confidence score, an address, and an explanation of the clues behind the result. It accepts common image formats as well as MP4, MOV, and WebM video, and you can add context such as a suspected country or time period. There is also a photo geolocation API for developers.
Best for: journalists, researchers, OSINT practitioners, travelers, and anyone who wants a strong candidate without manually assembling half a dozen tools first.
Watch out for: confidence is not proof. Treat the result as a well-developed hypothesis, then confirm permanent details such as road geometry, building placement, terrain, and signage in independent sources.
Google Lens: best first stop for an image that may already be online
Google Lens searches with an image rather than a sentence. Google's own help page explains that you can upload a file or search an image from a website, then explore related results.
Lens is particularly useful for:
- Finding another page where the same photo appeared with a location in the caption.
- Reading and translating storefronts, street signs, and posters.
- Identifying a landmark, business logo, transit symbol, or distinctive object.
- Cropping the search to one clue instead of asking the whole image to do everything at once.
That last trick is underrated. If a wide scene produces generic travel photos, crop tightly around the church tower, bus-stop logo, or tiny patch of text. One image can become five much better searches.
Best for: known landmarks, reposted images, readable text, and businesses.
Watch out for: Lens is a visual search engine, not a general coordinate estimator. If the image is unique and the scene has never been indexed, it may identify objects without locating the place.
Yandex Images: best complementary reverse image search
Yandex Images is worth trying even after Google Lens. Search engines have different indexes and matching behavior, so a miss in one is not a verdict from the internet.
According to Yandex's image-search documentation, its computer-vision search can surface exact copies and visually similar images. That makes it useful for tracing reposts and for finding another angle of a distinctive building or landscape.
Best for: exact copies, near-duplicates, architecture, landscapes, and a second opinion after Lens.
Watch out for: a result can be visually similar while being thousands of kilometers away. Blue-domed churches, volcanic roads, and beige apartment blocks all have enthusiastic lookalikes. Use results as leads, not conclusions.
Bing Visual Search: best for finding source pages and related context
Bing Visual Search lets you upload a file, paste an image or URL, or drag a picture into the search box. Microsoft says results can include pages using the image, related images, and other information about what appears in it.
In a geolocation workflow, Bing is useful when a photo has circulated through news sites, blogs, real-estate listings, tourism pages, or product pages. It is also another independent index for OCR and visual matches.
Best for: locating the page behind a circulating image and widening a reverse-search sweep.
Watch out for: like Lens and Yandex, Bing usually needs indexed visual context. It is not meant to turn every anonymous landscape directly into coordinates.
TinEye: best for finding exact and altered copies
TinEye has a narrower superpower. It fingerprints the visual content rather than relying on the filename or attached metadata. TinEye's documentation says it can find image matches even when a picture has been cropped, edited, or resized.
This is excellent for provenance. An older or higher-resolution copy may preserve a caption, credit, filename, or uncropped landmark that vanished as the image bounced around the web.
Best for: tracking reuse, finding an earlier version, and recovering missing context.
Watch out for: TinEye generally looks for versions of the same image, not different photos of the same place. A zero-result search only means it did not find a matching copy in its index.
ExifTool: best when you have the original photo
Before summoning an army of AI agents, check whether the answer is already sitting inside the file.
ExifTool reads EXIF, IPTC, XMP, and other metadata from a large range of file formats. For an original photo, this may include GPS latitude and longitude, capture time, camera model, orientation, and sometimes useful software or editing history.
A simple command is enough:
exiftool -gpslatitude -gpslongitude -gpsposition -datetimeoriginal photo.jpg
No GPS result does not mean the image is suspicious. Messaging apps, screenshots, editing tools, and social platforms commonly remove metadata. It just means you move on to pixel-based clues.
Best for: original camera files, newsroom submissions, field research, and personal photo archives.
Watch out for: metadata can be removed or edited. Verify surprising coordinates against what the picture actually shows, and never publish sensitive embedded location data casually.
Google Maps and Google Earth: best for verifying a candidate
Once you have a city, neighborhood, or shortlist of coordinates, Google Maps and Google Earth become the workbench.
Compare features that are difficult to fake by coincidence:
- The order and spacing of buildings.
- Road bends, intersections, medians, and lane markings.
- Mountain ridgelines and the direction of a coastline.
- Utility poles, walls, tree lines, and large signs.
- Shadows and the camera's likely direction.
Google Earth also supports historical imagery, although availability varies by place. Historical Street View can rescue an apparently bad candidate when a storefront was repainted, a tower was built, or a tree grew large enough to swallow the facade.
Best for: final visual confirmation, terrain checks, and changes over time.
Watch out for: satellite and Street View imagery may be old, seasonal, obstructed, or unavailable. A mismatch in a temporary object is weak evidence; a mismatch in the road layout is much stronger.
Mapillary: best alternative source of street-level imagery
Mapillary is a crowdsourced street-level imagery platform. Its official introduction reports more than 2.4 billion uploaded images and explains that contributors can capture places with phones, action cameras, and dashcams.
For geolocation, Mapillary is valuable in two situations: when Google Street View has a gap, and when a newer contributor image shows something that older official coverage missed. Images are placed on a map and may include capture time and camera direction, making side-by-side comparison much easier.
Best for: roads outside standard Street View coverage, trails, fast-changing areas, and alternate viewing angles.
Watch out for: crowdsourced coverage is wonderfully uneven. One city may be photographed block by block; the next may have a heroic total of seven images and a blurry bicycle handlebar.
GeoHints, SunCalc, and OpenStreetMap search: best specialist helpers
Some cases come down to one peculiar clue. These smaller tools are useful after the obvious searches stall:
- GeoHints is a visual reference library for bollards, road lines, license plates, utility poles, signs, driving sides, and other country-level clues.
- SunCalc models the Sun's direction and altitude for a chosen place, date, and time. It can test whether a candidate is compatible with visible shadows, but shadows alone rarely identify a unique location.
- Bellingcat's OpenStreetMap Search helps search a defined area for combinations of mapped features. A wind turbine near a canal and a railway can be far more searchable than “rural road.”
These are not one-click location finders. They are clue amplifiers—and stubborn cases are usually won by better clues.
A practical workflow to find where a photo was taken
Here is the order we recommend:
- Preserve the original. Work on a copy so you do not alter metadata or accidentally overwrite evidence.
- Check metadata. Use ExifTool or your operating system's file-information panel. If GPS exists, plot it and verify the scene.
- Run an AI geolocation search. Upload the image to GeoSeer, include any reliable context, and save the top candidates rather than only the first.
- Reverse-search the whole image. Try Google Lens, Yandex, Bing, and TinEye. Their indexes are complementary.
- Crop individual clues. Search signs, logos, road shields, buildings, vehicles, and skyline features separately.
- Build a shortlist. Rank candidates by how many independent clues they explain. Do not fall in love with the first plausible city.
- Verify on maps. Match roads, structures, terrain, and viewing direction in Google Earth, Street View, and Mapillary.
- Record the evidence. Save links, imagery dates, coordinates, screenshots, and what would disprove the conclusion.
The principle is simple: one tool proposes; another tool confirms.
Can AI really find a photo's exact location?
Sometimes—especially when the scene contains searchable text, a distinctive landmark, or reference imagery from the same street. But “exact” is a dangerous word.
A tool may correctly identify the country but miss the city. It may find the city but place the pin on the wrong side of town. Confidence scores describe a model's belief under its own assumptions; they are not certificates of truth.
For serious reporting or investigation, aim for two independent forms of confirmation. A reverse-image match with a credible caption plus a map alignment is strong. Two AI tools repeating the same guess may simply share the same blind spot.
The bottom line
If you want the quickest route from an unknown image to a reasoned shortlist, start with GeoSeer. If the image may already be online, add Google Lens, Yandex Images, Bing Visual Search, and TinEye. If you have the original file, check ExifTool before doing anything elaborate. Then use Google Earth, Street View, and Mapillary to turn a promising answer into a defensible one.
Photo geolocation is less like pressing a magic “locate” button and more like hosting a very small detective conference. The good news is that the attendees are getting remarkably useful.
Use these tools only for lawful, ethical purposes. Avoid locating private individuals, homes, or other sensitive places without a legitimate reason and appropriate consent.
Sources and further reading
- GeoSeer features and workflow
- GeoSeer API documentation
- Google: Search with an image
- Microsoft: Using Bing Visual Search
- Yandex image-search documentation
- TinEye: How reverse image search works
- ExifTool official site and documentation
- Google Earth historical imagery help
- Mapillary introduction
- Bellingcat Online Investigation Toolkit